How to Apply Makeup Step by Step for beginners:
Makeup is powerful. Our favorite products help us create the beauty looks we love, highlight our best features, and capture our own ideas of beauty. The best cosmetic routines give modern women the confidence they need to face the world directly, no matter what the day brings.
When it comes to cosmetics, how well you put it on may make a big impact. Using the perfect amount of your favorite products and applying them the right way will help you obtain the beauty appearance you want and make the most of your makeup.
These crucial beauty tips will teach you how to put on your makeup. This list of makeup procedures and techniques will help you get a perfect look that you can be proud of, from putting on liquid foundation to using gel eyeliner.
Table of Contents
What is the right order of how to apply makeup step by step?
You probably watched a lot of makeup videos online, saw your favorite celebs having their makeup done with their favorite products, and maybe even did your own makeup with them. But there are never too many guides and tools that can help you with your beauty adventure!
That’s why we made this instruction on how to apply makeup at home, step by step. Before we tell you all you need to know about these cosmetic steps, we want you to know that there is no right order for them.
When it comes to doing your makeup, you should always do what works best for your skin, your skill level, and the appearance you want to achieve.
There are a lot of different ways to do it, and the steps you need to take will depend on the appearance and coverage you want. But we’ve put up a simple guide for beginners on how to apply makeup that will help you look great every time.
This step-by-step makeup guide will provide you a base (see what we did there?) for putting on makeup. Let it help you get used to everything, from putting on mineral foundation to help hide redness to applying a setting spray to keep your makeup in place.We hope this step-by-step makeup instruction makes you feel better about yourself and helps you get closer to the look you want.
What makeup should I put on first?
Always start with primer when you want your makeup to stay on and look great.
Primer gets your skin ready by filling in fine lines and wrinkles, giving your makeup a clean base to work with, and making it stay as long as possible. You should pick a primer that is light and doesn’t have any oil in it.
How to Put on Makeup?
There isn’t just one technique to put on makeup, and the processes for putting on makeup aren’t formed in stone. .
how to apply makeup makes the most sense and can help to provide you with a stunning makeup look!
Okay, get the makeup ready. Let’s get going.
Step 1: Moisturizer

Before you put on your makeup, make sure you use a good moisturizer on your skin.
Picking the appropriate moisturizer for your skin is a very important part of the puzzle. Here are the different types you can utilize, from lightest to heaviest:
⦁ Face mists are water-based products that may have vitamins and scents that are good for your skin. Facial mists won’t put moisture back into your skin, but they can help you keep a dewy look all day long. Just spray it on your skin anytime it feels dry during the day.
⦁ Serums: This is a light solution that the skin may quickly soak up. There are a lot of different serums that are made to fix certain problems. Some serums assist keep your skin moist to stop wrinkles, and others have chemicals that can make a dark complexion look brighter.
⦁ Lotions: Lotions are the most common type of moisturizer, and they work well on many different skin types. Choose lotions that say “non-comedogenic” on the package. These lotions are made to keep your pores from getting blocked.
⦁ Creams: If your skin is really dry, you might want to buy a cream moisturizer to help it. This solution is thicker and heavier, and it can help skin that is really dry. You can use day creams as a base for your makeup, but night creams are made to provide your skin more hydration while you sleep. Put it on before bed, and when you wake up, your skin will be soft and smooth.
⦁ Oils: If you need more moisture, oils might be a good choice. Some oils are suitable for people with normal, dry, or sensitive skin. But if you have acne or need makeup that is developed just for oily skin, you should stay away from oil-based moisturizers.
Half the struggle is learning how to use moisturizer the right way. Put a little bit on your fingers. Start by putting the moisturizer on your forehead. Start in the middle of your face and work your way out and up.
Then, starting at your nose, do the same thing and spread the moisturizer across your cheeks. Make sure the moisturizer is evenly spread across your skin. Once you’ve put on enough moisturizer, rub it in with small circles and let it dry for a few minutes before going on to the next step.
Step 2: Primer
After moisturizing your skin, get your face ready with primer. Primer is a vital initial step no matter how much makeup you want to wear, whether it’s just a light coat of foundation or a complete face. Putting on primer before your makeup will help it last longer.
What is primer, then? If you want your foundation or face makeup to go on more smoothly and last longer, think of primer as a base. Primers are gels and creams that are very smooth and fill in the lines and pores on your face. They make your skin look even and smooth, which is the best base for your makeup. To use your primer, start by putting a small quantity on your fingers or the makeup brush or sponge you like most. A little bit goes a long way, so here’s a pro tip.
Put a dime-sized amount of primer in the middle of your face and slowly spread it out to your cheekbones, forehead, and chin. If you want to put primer on the delicate skin around your eyelids and keep your smokey eye appearing professionally done all day, make sure to get a product that is made just for that area of your face. Throughout the day, grease can build up on our eyelids, which can make makeup look “creased.” If you don’t use primer before putting on eyeshadow or eyeliner, it may not go on evenly if your eyelids are greasy.
Step 3: Liquid Foundation
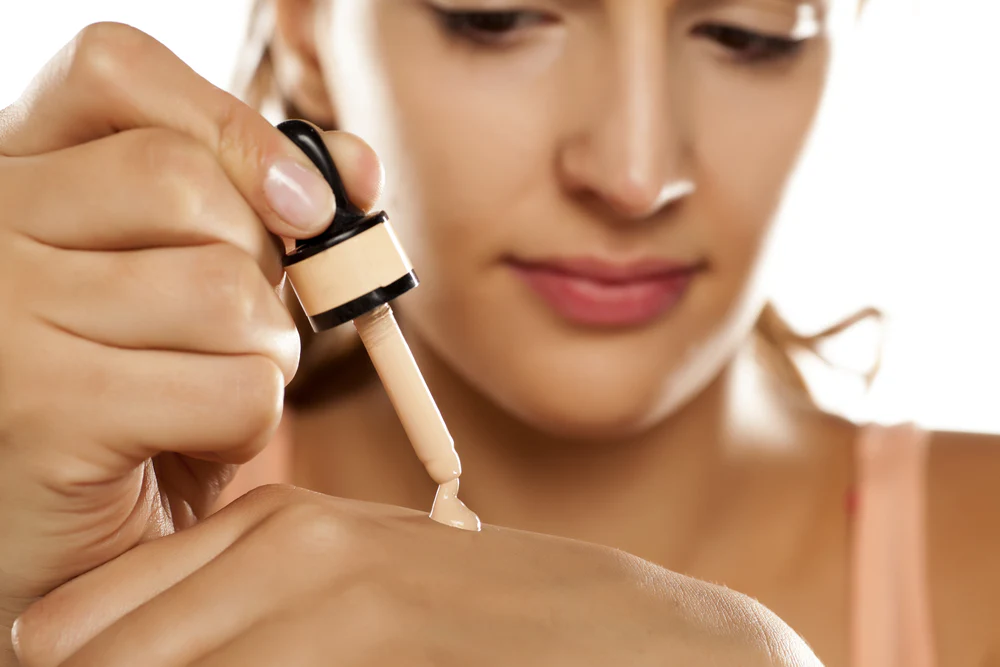
Finding the right shade of foundation for your skin is the most important thing. The appropriate color of foundation may make a big difference.
How do you choose, then? Put the foundation colors on your jawline to see how they look. If the foundation disappears without any blending after you put it on, you’ve found your perfect match. It could take some time to get it right, but it’s really important to choose the proper color. Think about the tools you’ll use to apply the product after you’ve picked it out.
Some women like to use their fingers, while others want to utilize cosmetic equipment like sponges and brushes. Your fingers might be the best way to apply makeup if you want a light coverage appearance. But never touch your face without cleaning your hands beforehand, and make sure to wash your hands after applying it so you don’t leave makeup handprints all over the house. Choose an applicator brush or beauty blender for a look that covers more skin. Blend the liquid foundation from the middle of your face outwards.
Make sure to massage your foundation into your skin as you apply it. Some ladies like to use a moist sponge to stipple their foundation to assist it absorb into the lines and wrinkles which can make the texture smoother and more even. Some kinds of cosmetic brushes are also effective for blending foundation into the skin.
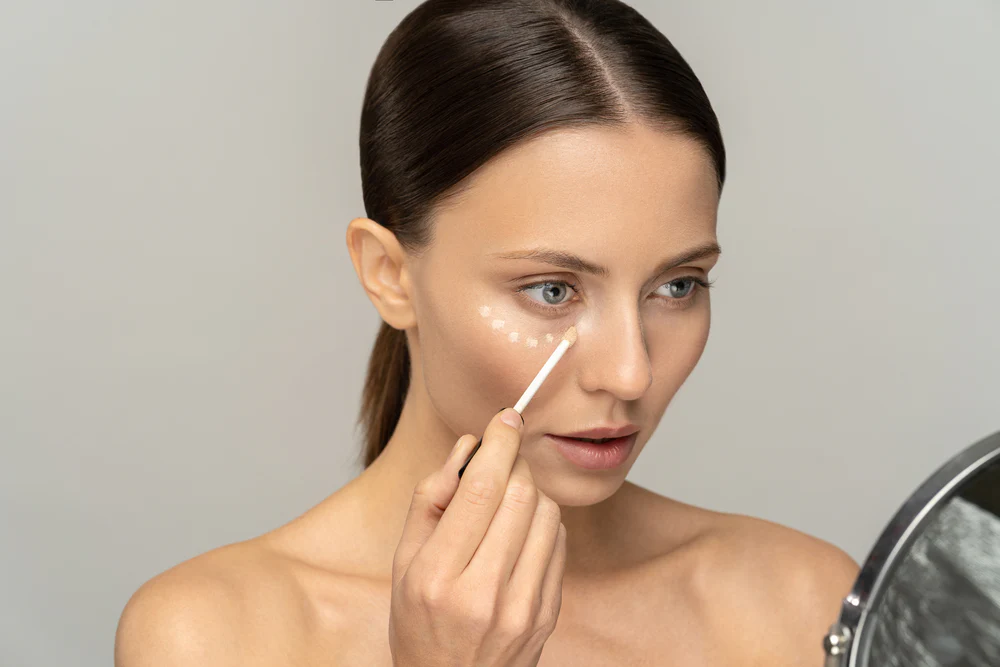
Step 4: Concealer
There are two primary types of concealer: liquid and stick/compact.
If you want light coverage over a big region of your face, liquid concealer is the best choice. Or, even better, you might choose a no-makeup cosmetic option like Total Eye® 3-in-1 Renewal Therapy SPF 35. It’s a great alternative to concealer because it works as an eye cream, brightener, and sunscreen all at once. Total Eye® 3-in-1 Renewal Therapy SPF 35 can help you look more natural by making dark circles, puffiness, and fine lines and wrinkles look better.
Picking the Color of Your Concealer:
It’s a good idea to buy two different colors of concealer. One should be extremely close to your skin tone and can be used to hide dark spots, pimples, and other spots on your face. The other should be lighter than your skin tone and can be used to bring out certain parts of your face or make your makeup look clearer. Some women like to put on concealer before liquid foundation. It’s really up to you how you want to do these two steps. Try both and see which one gives your skin the smooth, glowing finish you want.
Where to Apply Concealer?
Use a moist sponge or makeup brush to apply light concealer under your eyes to make dark circles less noticeable and give your skin a glowing, bright look. You might also want to try a dark circle cream.
If you’re using concealer to hide pimples, put it just on the spot where you want it to cover.
To use a liquid or cream concealer to highlight your face, put little dots in these places:
⦁ Across the middle of your forehead
⦁ Down the middle of your nose
⦁ Beneath your eyes
⦁ At the top of your chin, right below your bottom lip, there is a curved arch.
Always cover it with foundation or setting powder, and gently blend it into the skin around it.
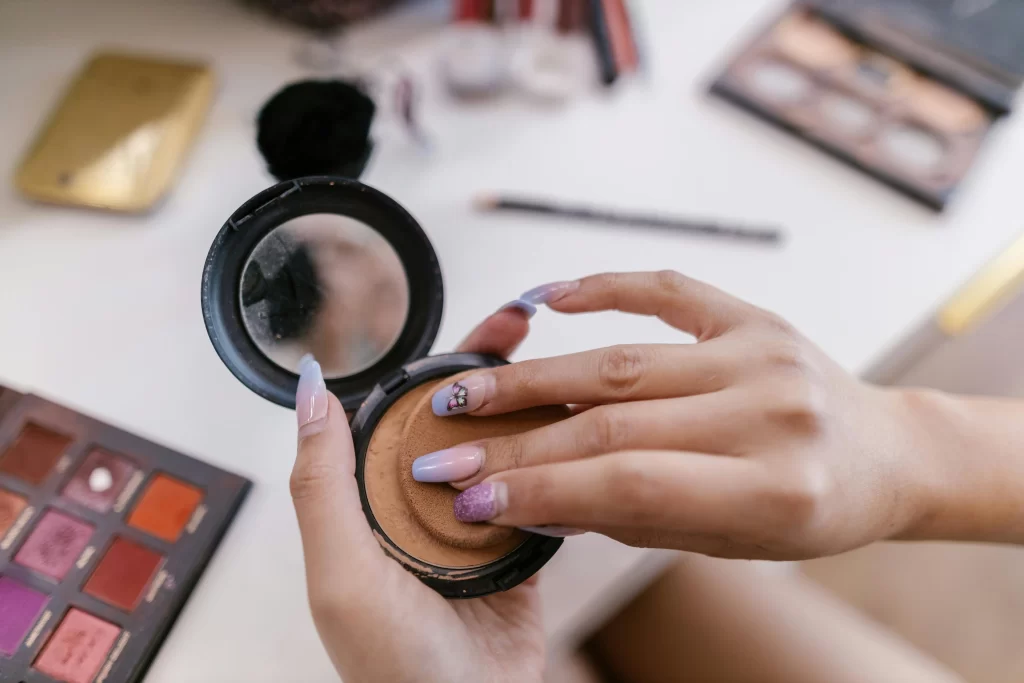
Step 5: Foundation Powder
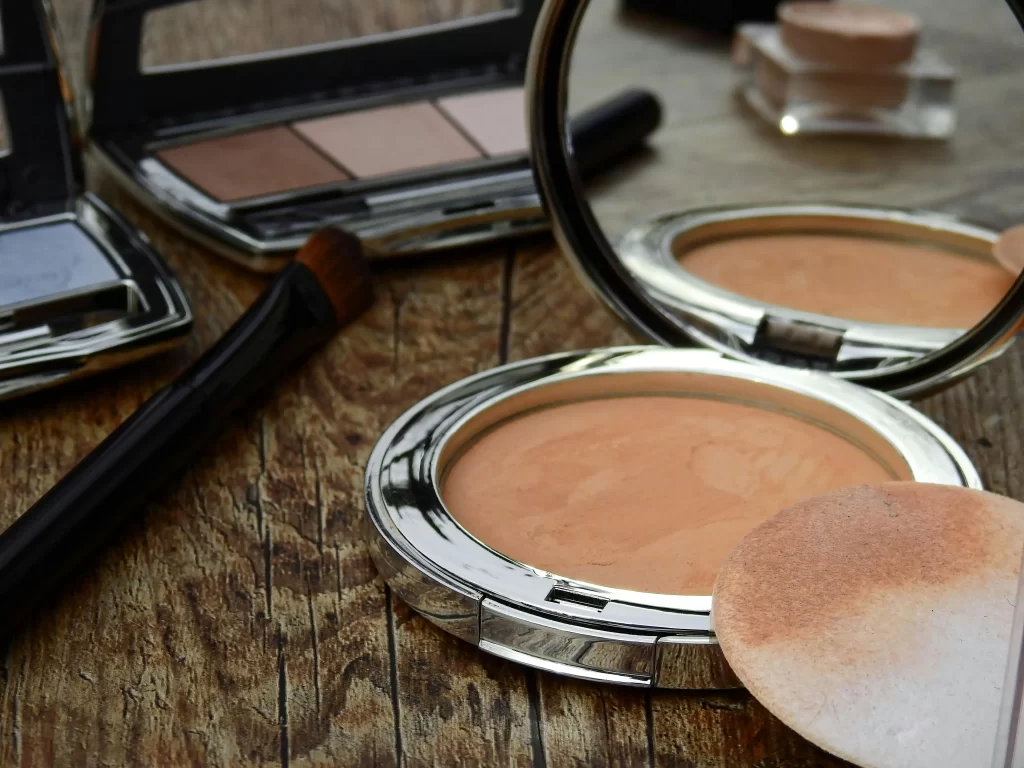
It can be hard to put on foundation powder. If you don’t use enough, you might as well not have done it at all. If you use too much, your makeup might start to look heavy. In your search for perfect skin, you’ve probably heard a lot of tips and methods for using powder foundation. If you want to have great skin, remember these recommendations.
Start by using a big, fluffy powder brush to put a light application of powder on your face. Push the hairs into the powder, then sweep them across your skin in a while, rising strokes. You might want to put on a little more powder if there are portions of your skin that require additional coverage. The red and greasy parts of your face are usually in the middle. Put your brush in the powder and press it firmly into your skin for this step. This helps the powder get into pores and wrinkles, which makes the texture smoother.
Step 6: Bronzer
You can have a sun-kissed look all year long with bronzer. Use a special bronzer brush to put a golden tan on your face. Bronzer brushes have more filaments and are spaced out more tightly, so you get the most out of your colored bronzer with every stroke.
How to Choose the Right Shade of Bronzer
Picking the wrong shade is one of the most common mistakes people make using bronzer. If you’re not used to using bronzer, don’t go too dark. Two shades darker than your complexion is OK.
Where to Apply Bronzer?
When you’ve found the perfect color, put bronzer on both sides of your face in the shape of a number “3.” Start at your forehead and move the bronzer down your cheekbones and across your jawline until it reaches your chin.
Pro Tip: Don’t forget to mix it in with your neck. Do the same thing on the other side.
Step 7: Blush

For hundreds of years, cosmetics has been about having blushed cheeks. Blush may be the answer if you want to add some color and life to your skin. Use a brush with a lot of bristles and a thick handle to put on your blush. This will help you get the most out of each sweep.
Where to Apply Blush?
⦁ There isn’t a single way to apply blush that works for everyone. The shade of your blush might assist you choose where to put it.
⦁ pink blush:only put it on the apples of your cheeks. The purpose of pink blush is to look like the natural flush your body makes when blood collects in your cheeks. Put on your finest smile to find the apples of your cheeks. The “apple” is the front section of the cheek that sticks out more when you smile.
⦁ Plum blush: People with medium to dark skin can use plum blushes the same way people with light skin can use light pink blushes.
⦁ Peach blush: Use these colors to shape your face and add a little color instead of just putting pink blush on the apples of your cheeks. Twist one side of your face, as if you were doing your lips and pointing them to the other side. Next, use the peach blush to sweep over your cheekbones, starting near your ears and ending at the apples of your cheeks.
Step 8: Highlighter
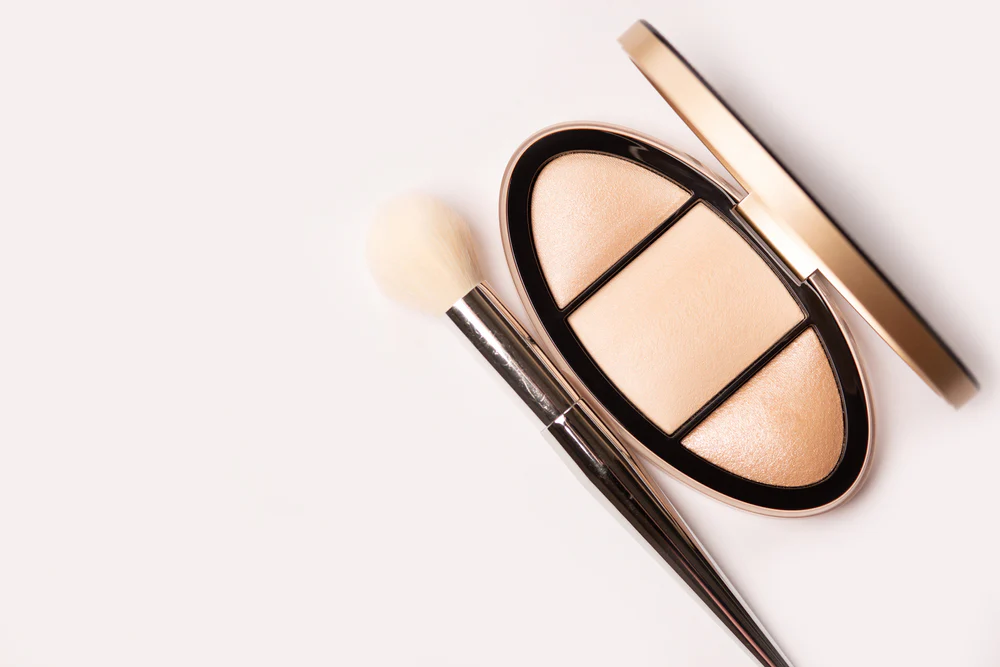
Every makeup look is made a little more glamorous and radiant with the perfect highlighter. Highlighter can enhance your makeup application, whether you’re going for a more natural look or something bold and lovely.
There are several types of highlighters, such as liquids, creams, and powders. You have the option of using just one or whichever combination of two or three you like. The application procedure is the same regardless of your choice.
Where to Apply Highlighter?
Once your new foundation technique has given you a perfect canvas, mark out the parts of your face that you want to pay attention to.
First, apply a liquid highlighter to the following areas:
⦁ down your nose’s bridge
⦁ On the upper part of your cheekbones
⦁ In your eyelids’ inner corners
⦁ On the bone of your brow
⦁ The cupid’s bow, which is the depression over your top lip,
⦁ The middle of your forehead
⦁ The middle of your chin
Use a sponge or your fingertips to blend in the liquid highlighter until you’re satisfied with how it looks. Apply a coating of cream or powder highlighter to the areas you want to draw attention to in order to get the most out of your highlighting.
Step 9: Eyeshadow
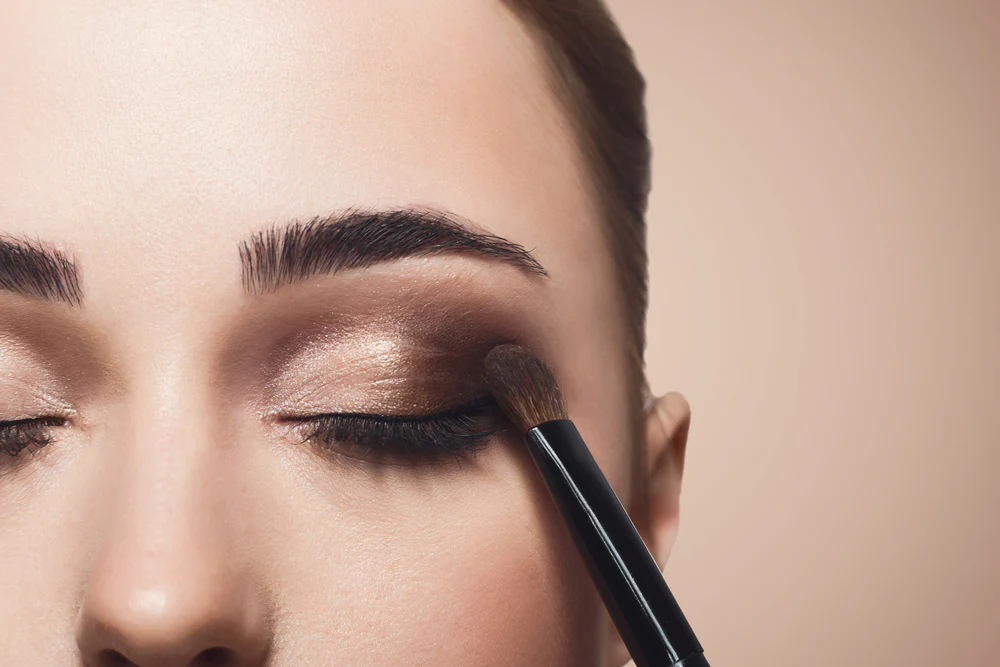
Whether you choose to go crazy with color or stick to neutral shades, eyeshadow can add interest to your cosmetic look. Get two complementary eyeshadows, one darker and one lighter, for any look you want.
To remove any extra product, dip your eyeshadow brush into the light shade and tap the brush. Beginning at the lash line and ending just above the eyelid fold, apply the lighter shadow all over the lid.
Tap off the excess color after dipping your brush into the darker shade. Just above your lash line, at the outer corner of your eye, apply the color. Apply the darker shade to the area directly beneath the brow bone, where your eyelids fold.
To avoid darkening the inner corners of your eyelid, stop applying about the middle. Blend the two shades together with a clean shadow brush. Apply the darker shadow again for a more dramatic effect.
Step 10: Eyeliner

Even those who wear makeup all the time sometimes find it hard to put on eyeliner, but these important techniques can help you learn how to do it faster.
Types of Eyeliner:
Liquid eyeliner: Liquid eyeliner is your new best buddy if you want to be accurate. You can buy liquid liner in a container and use a fine dipping brush to apply it. You may also get liquid liner in a pen that looks like a marker.
How to use: When using liquid eyeliner, start with a small line at the inner corner of your eye and make it thicker as you go out. You can start lining in the middle of your eye or in the inner corner. Keep the tip of the liner or brush as close to the lash line as you can. To fill up the gaps, make little dots down the lash line with your liner and then connect them. Don’t worry if your hand slips! Use a Q-tip with some eye makeup remover on it to clean up the area.
Gel eyeliner: This kind of eyeliner usually comes in a little jar with a thin brush for putting it on. If you want to look like a cat, gel eyeliner is great.
How to use: Put a flat, angled brush in the gel eyeliner container. To make sure all sides of the brush have product on them, swirl it around. Then, start applying it in the middle of the lash line and work your way out. Next, draw a line from the inside corner of your eye to the middle, joining the two lines.
Pencil eyeliner: Pencil eyeliner is usually the best choice for beginners. It’s easy to put a sharp pencil eyeliner on your waterline, and it works well for making a smokey eye.
How to use: Each time you use it, sharpen your liner pencil. Pull your eyelid tight and then draw small bright dots starting at the outside corner of your upper eyelid. Make a fine dotted line as close to the lash line as possible by working your way toward the inner corner of your eye. Use a small shadow brush to blend the dots together, or use your pencil to connect them.
Step 11: Mascara

If you only have one makeup item, mascara should be at the top of your list. Just a few swipes of mascara can make your eyes look brighter straight away.
There are several shades of mascara, but black and brown are the most common. Use an eyelash curler to curl your lashes first.
How to curl your lashes:
⦁ Put the curler at the base of your upper lashes. Be cautious not to pull on the delicate skin around your eyelid.
⦁ Close the curler slowly.
⦁ Keep it still for a few seconds.
⦁ Let go softly
Take your mascara tube once you’ve curled your eyelashes. Gently move the brush in circles to make sure all the bristles are covered in mascara.
Don’t pump the brush into the tube, because this lets air in and could make your mascara assemble.
Lightly move the mascara brush back and forth over the roots of your lashes. You may then drag this through to the ends of your lashes to add more volume. If your lashes are stuck together, use a clean brush to brush through them. Put on a second coat to get extra volume.
Step 12: Lip Gloss
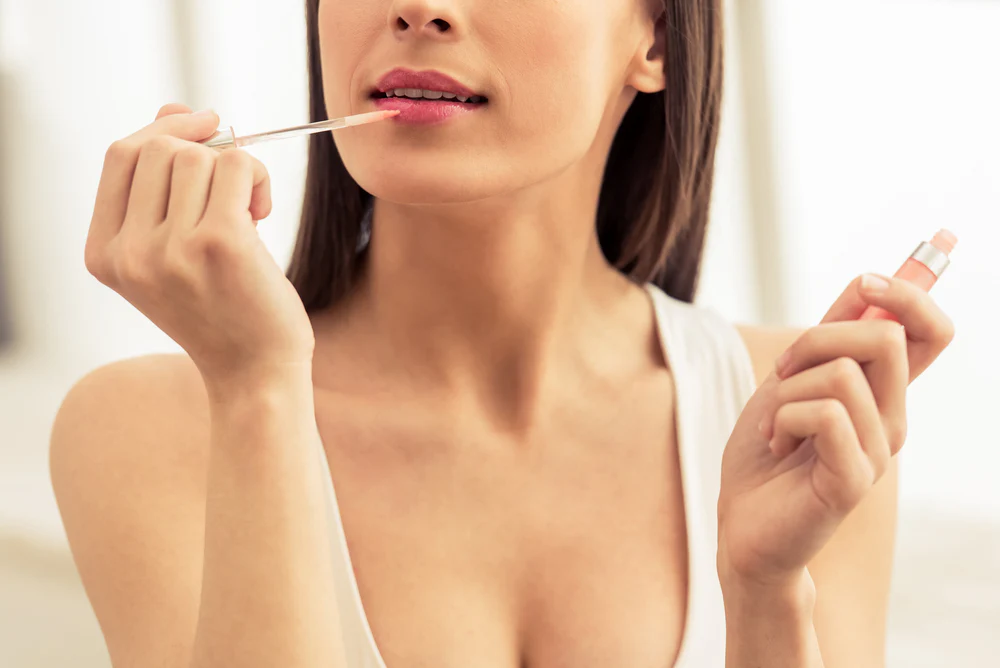
Get your lips ready before you put on gloss. If your lips are dry and cracked, be sure to use a light lip scrub to get rid of any dead skin and then put on a lip gloss to protect them. Next, use a lip moisturizer or conditioner to make your lips even softer. After your lip balm has soaked in, wipe off any extra.
Start putting on your lip gloss in the middle of your lips and pull the applicator along the length of your pout. Don’t pull any gloss above your natural lip line. Instead, lightly smash your lips together to make sure the gloss gets into all the small spaces of your lips.
Step 13: Setting Spray & Setting Powder
Setting spray or powder is the last step in your makeup schedule. It’s crucial to buy a good setting solution if you want your makeup to stay on all day without being greasy, wrinkled, or shiny.
Setting sprays work on all skin types and may be used to set a wide range of looks, from light coverage to a full face of stunning makeup. Setting spray helps your makeup stay in place, which means you don’t have to reapply it as often and your makeup will look perfect for hours.
Setting spray works like hairspray for your hair, and you put it on in a very same way. Keep the bottle at least 8 inches away from your face, then softly spray it a few times to make sure all of your face is covered. To make sure your makeup is coated from forehead to chin, first spray an X form across your face, and then a T shape.
You don’t need to rub the spray in once you put it on because it will dry on its own in a few seconds.
Last Look:
Your makeup is done! You may easily use this instruction on how to apply makeup step by step in your daily life, as you can see. These techniques for how to apply makeup make it easy to get a lot of different appearances, whether you’re going to work or out for the night
Your Makeup Routine Just Got So Much Better:
You should have all the important step-by-step guidelines for how to apply makeup after reading this article.
We hope that from now on, this tutorial will help you feel more confident in putting on makeup and make your look even better. You can always look at our tips to help you out
Also read: 6 Game-Changing Beauty Tips for Oily Skin That Actually Work!